How to prepare for your first multi-day ski tour
Fitness Preparation
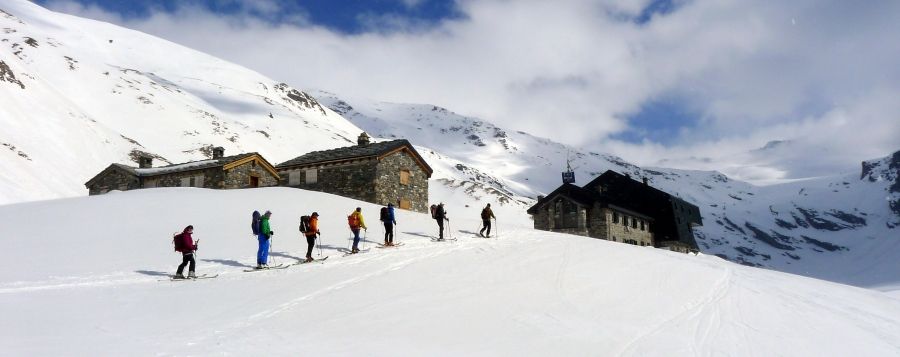
As your skiing tastes become more refined you will be looking for the very best descents in the best snow. The longest and most beautiful descents are usually accessed on skins and, after many years of ski guiding, I can say for certain that the most memorable days involved a touring approach coupled with long remote descents in great snow.
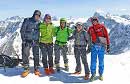
So, if you are making your first ski touring adventure this year, these articles are for you, a little planning and preparation can make a big difference. Multi-day ski tours are all about ‘the journey’ and to appreciate the awesome winter mountains and the team spirit within your group, it’s important that you are relaxed and confident in your own fitness. A tour which feels like endless toil is never much fun!
When ski touring we have specific fitness requirements to tackle both the uphill and the downhill. Indeed, long touring days can certainly be strenuous undertakings with the weather elements and altitude thrown in for good measure. It is of vital importance that you arrive on the tour in good physical shape; this will increase your enjoyment, better your chances of success and allow you to begin the tour with confidence.
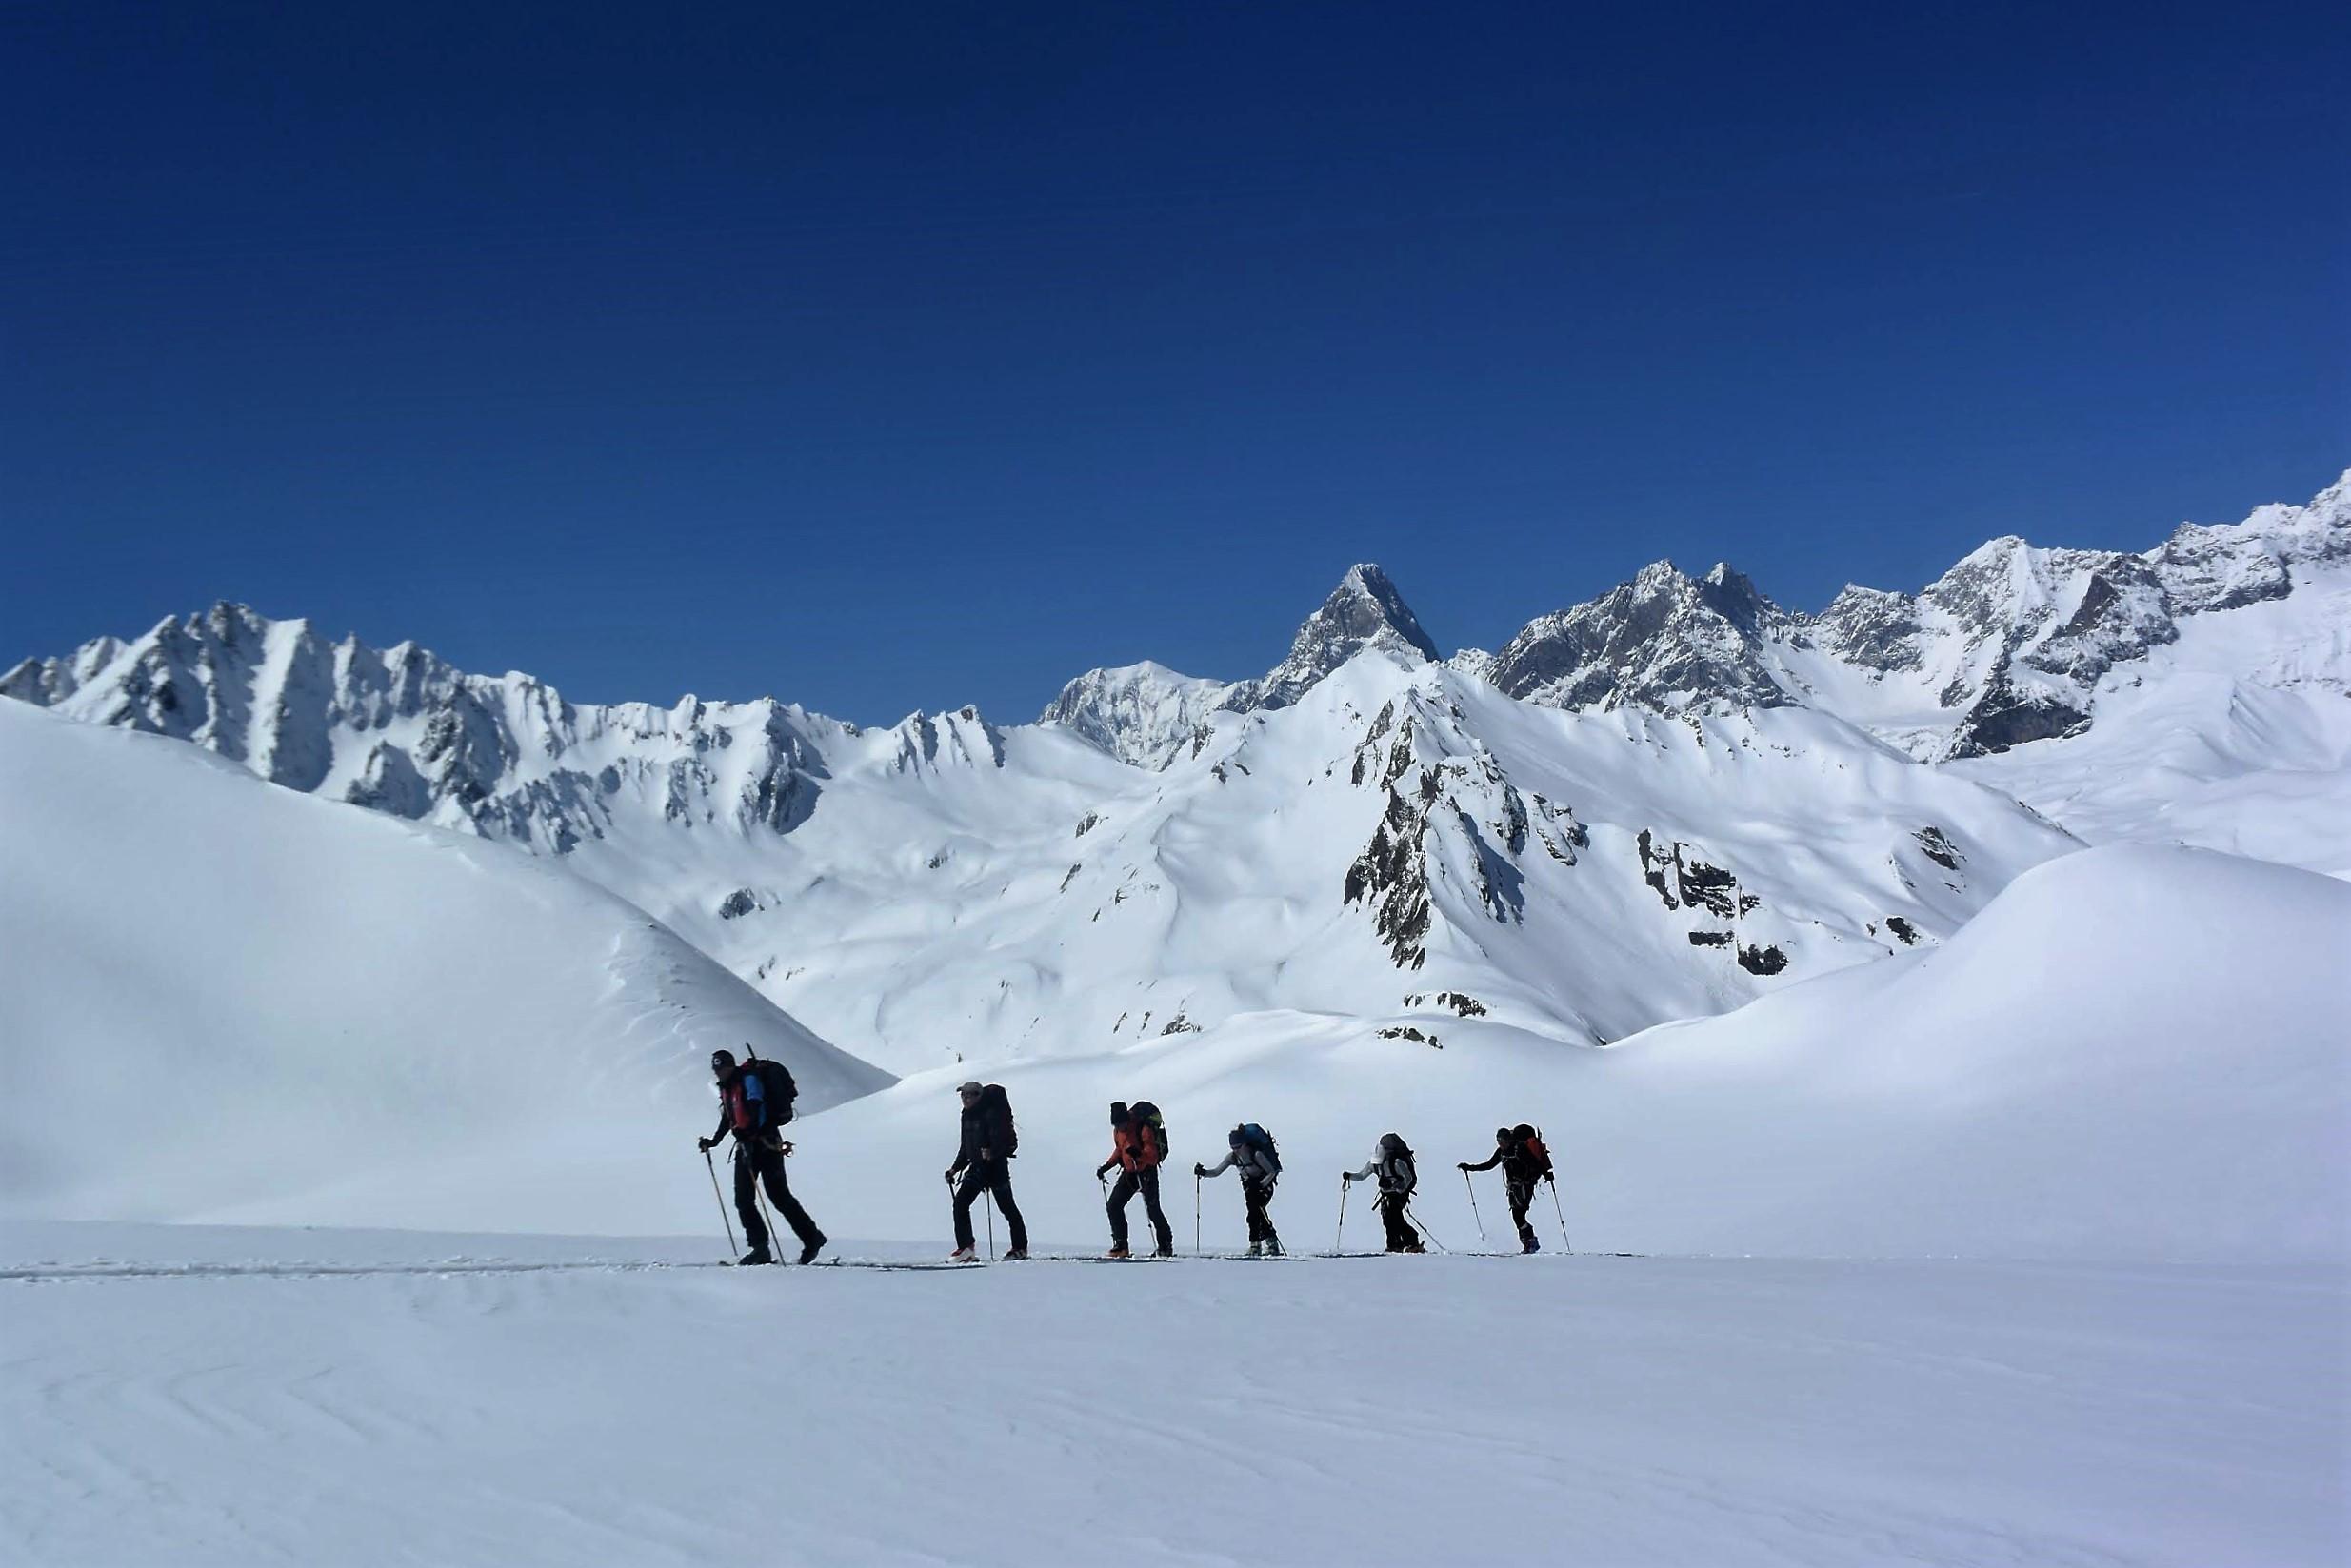
Preparation for the uphill
Skinning uphill is an aerobic exercise that requires more in the way of stamina than strength. A rhythmic steady pace is desirable often for hours at a time. It is important that the muscles are never allowed to ‘pump’ or for lactic acid to build up. We need keep a reasonable pace, and also perform at altitudes over 3,000m where thinner air is a factor. How should you train for this? The best way is to mirror the activity as closely as possible. So regular slow burn aerobic activities are the best. Hill walking, cycling or running are ideal. One or two hour sessions are enough preferably three times a week or more. The frequency should be increased as your trip approaches. You should concentrate on sustained motion. The ‘interval’ style workout can also be used but I prefer a more continuous approach to the exercise. Remember, the objective is stamina, not speed and strength.
Other than gains in your aerobic and muscle fitness, this type of training will contribute to joint stability and lesser the chance of injury.
Example of an easily achievable preparation programme which should be implemented 4 weeks before the start of your tour:
Sat/Sun: 2 half-days hill walking with a rucksack of 15kg, preferably hilly
Monday: Rest
Tuesday: Running 2+miles
Wednesday: Rest
Thursday: Cycling 10+miles
Friday: Rest
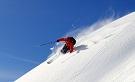
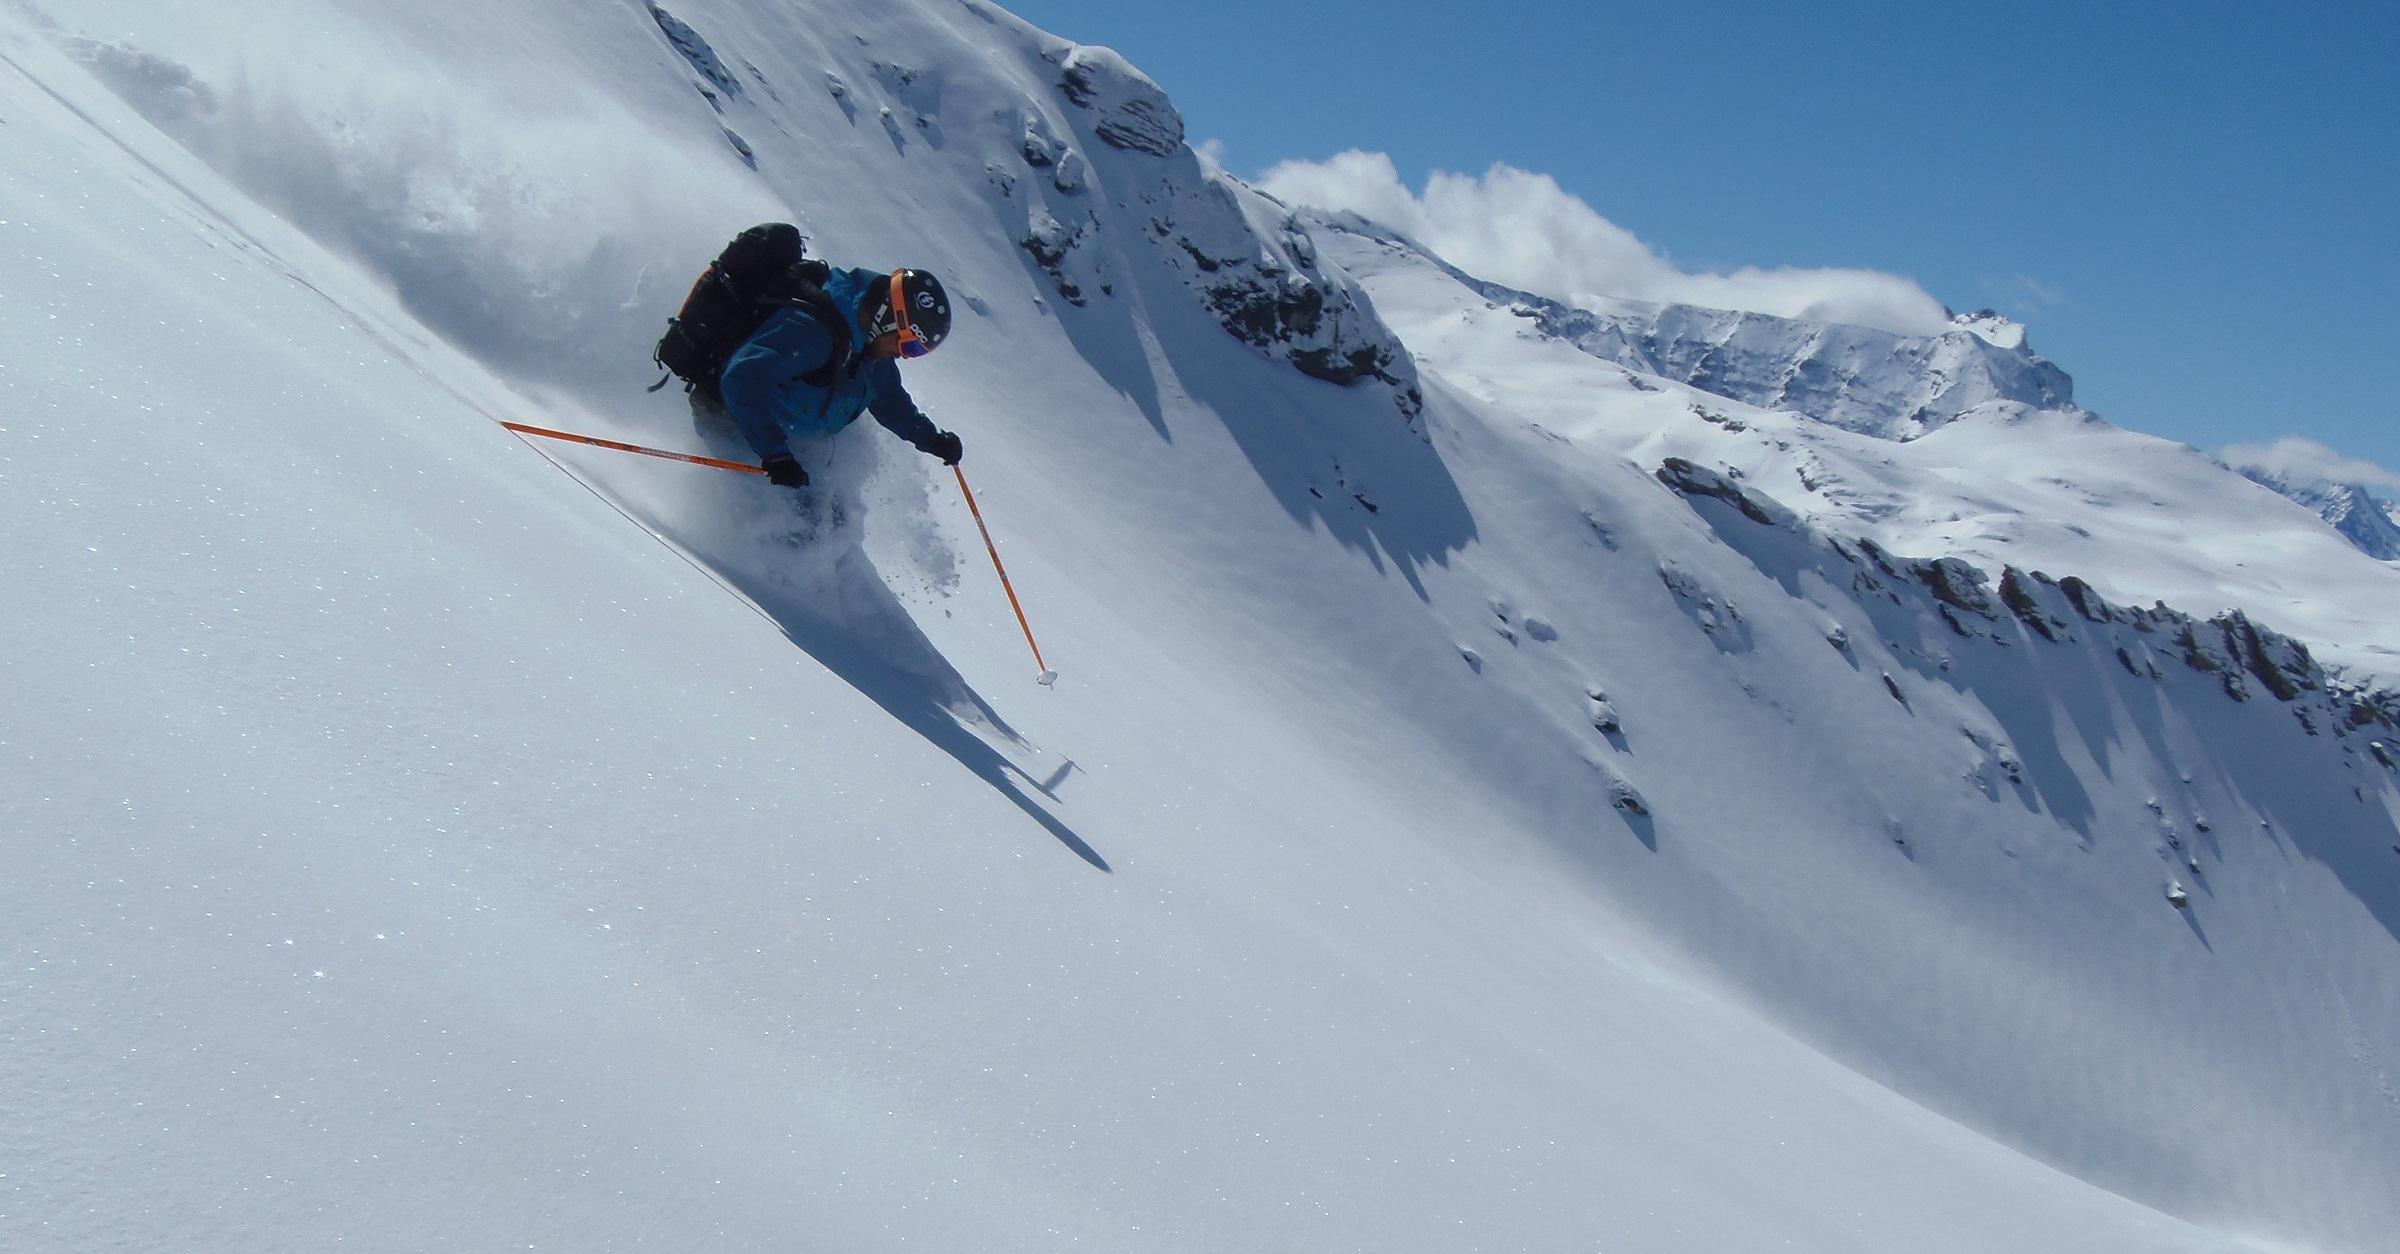
Preparation For The Downhill
Downhill skiing is highly dependent on strong leg muscles, particularly static strength. So your preparation routine should target muscles important for skiing as well as burn calories and increases metabolism. The inner and outer thigh muscles are important because they surround and stabilize the very important knee joint. The knee is vulnerable to twisting forces which can damage ligaments, so it is important to keep the legs well exercised prior to your ski trip, especially if your day job is mainly sitting.
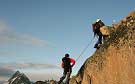
My favoured activities for building leg strength and knee satiability are steep hill walking and cycling. Both these activities send a lot of power through the knees and keep the tendons, ligaments and muscles ‘taut’, which in turn keep the knee stable. When walking downhill with a rucksack it is common to feel ‘jelly legged’, however after several such walks the wobbly feeling disappears, and this is directly attributed to the strengthening of muscles and joints.
In addition you can use gym machinery. A leg press for upper quads, a leg extension for lower quads and a leg curl for hamstrings. Several machine types work the inside and outside thigh muscles.
Of course the best warm up for downhill skiing is skiing. So if time allows, add a few days before your trip starts, taking care to build up slowly.
Altitude
It is not possible to short cut the process of acclimatisation; this can only be done by a slow ascent. But as you get more aerobically fit, you will notice your breathing rate drop and become more controlled, aerobic exercise strengthens the muscles involved in respiration, and helps the flow of air in and out of the lungs, and this will be very helpful at altitude.
Again if you are worried about your ability to acclimatise, it is wise to add a couple of days onto your trip and get up high, then once on the tour you will have a very satisfying head start. Often acclimatisation begins at the start of the tour! If so... relax, it is important to not to be stressed during acclimatisation, this will lead to reduced sleep and psychosomatic effects. Feeling a little light headed is normal. So concentrate on steady breathing, regular rests and drinking plenty of water... and enjoy it!
Practicing your skinning technique
In this section we'll explain how to perfect your skinning technique. Training and practice will results in more efficient use of your energy and ultimately more confidence on the mountain. A little planning and preparation can make a big difference.
First of all, the skins themselves:
Skins stick to the base of your ski and enable the ski to glide forwards but not backwards. So when fitting your skins it is important that the skin covers as much of the base of the ski as possible. Ideally, just the metal edges should show once the skins are on. Please don’t use old narrow skins with modern broad skis, they don’t work.
The skins are combined with a touring binding which are clamped down in descent, but will release the heal for the ascent, making it possible to move up hill on the skins. Ideally your skins will have tail clips, but if they don’t then make sure the skins are adequately glued and well stuck onto the ski.
Stride:
Now this is where good technique is important, it is important to attain a ‘rhythmic glide’ rather than a walk. Your skis should not leave the surface of the snow. You should try to attain the maximum efficiency of movement. The body should be relatively relaxed, just the calves and thighs plus just a little push on your arms is sufficient. The poles are used primarily for balance not power. You may be breathing hard, but not out of breath. Slow and steady is the name of the game.
Plan your strides so that bumps or depressions in the terrain are minimised. Try to anticipate each step and ski placement, so as much contact is maintained as possible. Ensure that the ski is gently slid forward maintaining snow contact throughout the entire stride. Try small strides this will help you with your weight distribution, this especially important on steeper skin tracks.
Body Posture:
Some people’s instincts persuade them to lean forward, especially if the skins are slipping, but keeping the weight centred and planted on the ski or heel riser will help assist in gaining traction. Never weight only the toes of your bindings as this puts a tremendous amount of stress on the binding.
Slipping?
As skiers begin to lose traction or feel uneasy on more technical sections, we will often be tempted to ‘edge’ our skis, and even worse, lean into the slope. Fight the temptation to edge and roll the ankles so that the bases of the skis are contacting the snow, and keep a well disciplined vertical stance. If the skins are beginning to loose traction, then a decisive stamp on each step will help the skins stick. Doing this for long sections is tiring so better change to using your ski-crampons.
Heel Risers:
The heel risers are used to increase efficiency and balance and to reduce calf stretch on steep ascents. You have the choice of 3 levels; flat, small riser and high riser. Feel free to make regular adjustments between flat level and the small riser. The high riser is reserved just for the steepest slopes. Practice adjusting your riser with a ski pole so transitions are smooth. On long ascending traverses, an advanced technique is to have the lower riser higher than the upper riser, thus levelling the posture.
Poles:
Think of your poles as merely tools to aid in balance, not for upward progress. Our power is derived from our legs, not from our arms, so unless you are on steep ground, your arms and poles should be fairly soft and relaxed not ridged or wooden. When skinning steeply use your poles further back, pushing a little harder, this will help your balance and provide a little upward force. Larger, powder ski baskets are better for skinning.
Ski Crampons or Harscheisen:
When skinning on a hard surface like wind crust or frozen snow, strenuous and precarious ‘edging’ should be avoided, for it quickly leads to side-stepping. Your ski-crampons or Harscheisen fit between the boot and the plate of the binding and allow a row of metal teeth to protrude downwards on either side of the ski. When the foot and the plate of the binding are raised the ski can glide forward; when the foot is lowered the teeth bite into the snow like a crampon. The ski crampons should not be worn all the time on ascent (unless you have the easy ‘fold-up’ version). Because you will use considerably more energy pushing the spikes through the snow. Always try to pre-empt where you will need to wear the crampons, so you avoid balancing in a dicey spot trying to put them on.

EXERCISES YOU CAN PRACTICE:
Kick Turns:
Changing direction while skinning is an art that can take years to perfect. On steeper slopes the track will begin to zigzag to gain heights and the skier is faced with performing the most important manoeuvre in up-hill skiing – the kick-turn. Definitely worth practicing.
With both skis at right-angles to the fall-line, lift the uphill ski and turn so that the skis point in opposite directions. This is the most strenuous part of the exercise and where flexibility helps. It is best done as a single fluid movement. It is important to move your uphill ski around as much as your hips will allow, then you will be stepping onto a flat rather than steep surface. As you step onto the second ski, give the heel a little ‘kick’ that will help clear the tip from the snow surface. The kick turn should definitely be practiced so it becomes a routine easy manoeuvre rather than a stressful and energy-sapping event.
Skin without poles:
This will help your balance, adjust your stride length and help you to roll your ankles with the slope. This exercise forces you into the optimum balance position and is perfect for reducing your reliability on your poles.
Ascend through moguls:
This is great practice for aligning your bases with the slope and maintaining good surface contact through all the changes in angle and camber. It also helps with micro route finding, to discover the easiest passage. Focus on finding a rhythm and minimizing turns.
Skiing down hill on your skins:
With your skins fitted and heels free, attempt a small controlled descent. Please remember to always lean back and hold your nerve. This practice will be invaluable when you arrive at short downhill sections of the skinning track.
 Travel Website Development